About This Project
This was the final project for ENPM700 - Software Development for Robotics at University of Maryland. The main question I wanted to answer:
How many robots can I simulate in Webots before it breaks? And when it breaks, what breaks first?
I built a decentralized swarm system where robots autonomously collect and dispose of hazardous waste (shown as green blocks) in a disaster scenario. The goal wasn’t just to make it work—it was to push the simulation to its absolute limits.
GitHub: swarm
ENPM700 Course Goals
ENPM700 focuses on teaching industry software development practices for robotics. Beyond the simulation itself, this project required:
- Test-Driven Development (TDD): Write tests before code
- Unit Testing: Test individual components with Google Test
- Integration Testing: Test the full system end-to-end, use Google Mock testing where needed
- CI/CD Pipeline: GitHub Actions to run tests on every push
- Docker: Containerized builds for reproducible testing
- Code Quality: Google C++ style guide, clang-format, clang-tidy
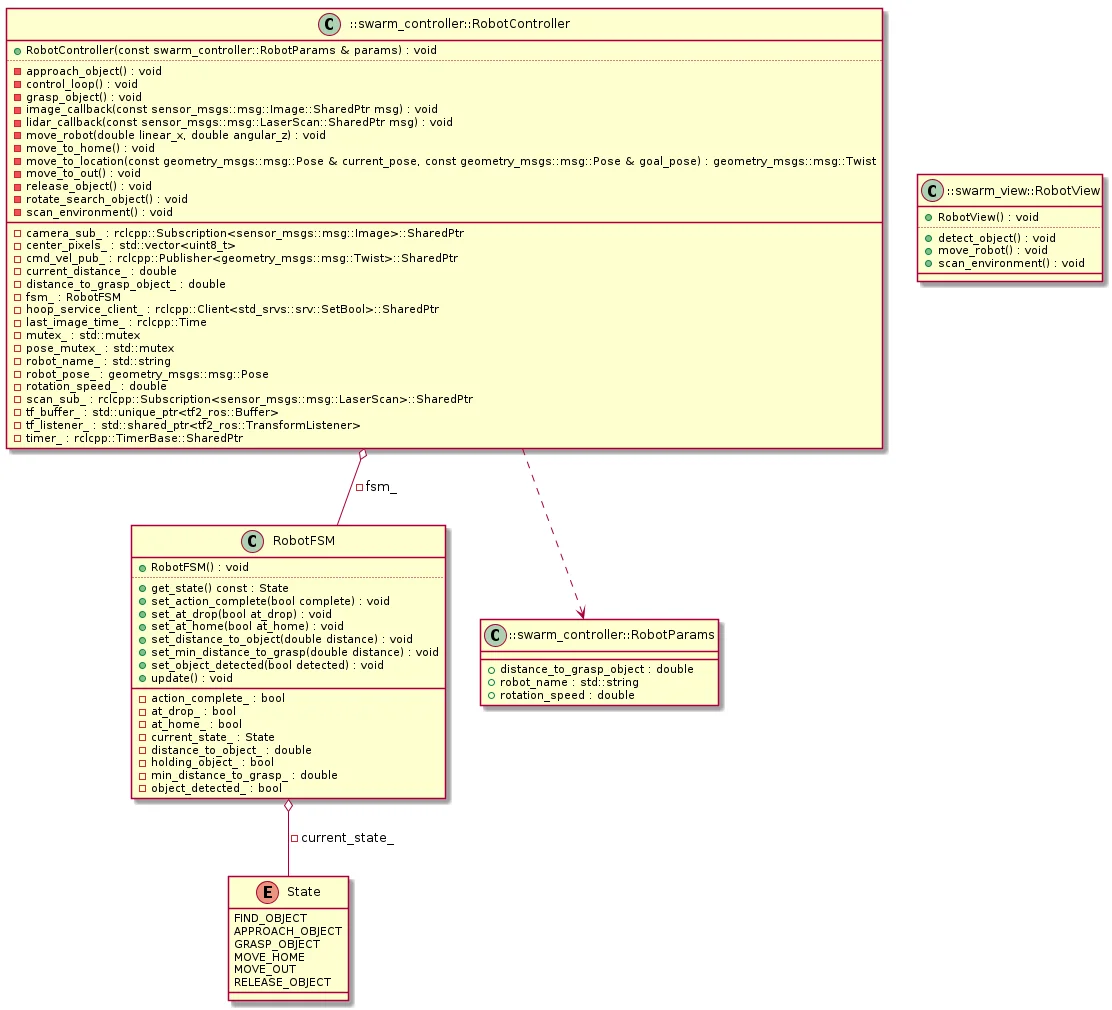
- Documentation: Doxygen-generated API docs, UML diagrams
- Version Control: Git with proper branching and commit practices
The Challenge
Simulating many robots is computationally expensive. Each robot needs:
- Physics simulation (collisions, motors, friction)
- Sensors (camera, LiDAR)
- Processing (perception, decision-making)
- Communication (ROS 2 topics, TF frames)
As you add more robots, all of these multiply. The question is: what becomes the bottleneck?
Key Optimizations
To maximize the number of robots, I made several optimization choices:
1. Tiny Camera Resolution
Instead of using standard camera resolution (640×480), I used 33×33 pixels. The robots only need to detect green objects, so a small image is enough.
# swarm_config.yaml
robot_params:
  camera_width: 33   # odd number for center pixel
  camera_height: 33
2. Pixel-Based Color Detection (No OpenCV)
Instead of using OpenCV for blob detection, I wrote a simple pixel check. The controller extracts the center 3×3 pixels and checks if any are bright green:
// Check if pixel is green (waste object)
if (g > 200 && r < 50 && b < 50) {
    found_green = true;
}
This is orders of magnitude faster than running a full computer vision pipeline per robot.
3. Custom Lightweight Planner (No Nav2)
Nav2 is great, but it’s heavy. Each robot would need its own costmap, planners, controllers, and behavior trees. Instead, I wrote a simple move-to-location function:
geometry_msgs::msg::Twist RobotController::move_to_location(
    const geometry_msgs::msg::Pose& current_pose,
    const geometry_msgs::msg::Pose& goal_pose)
{
    // Calculate distance
    double dx = goal_pose.position.x - current_pose.position.x;
    double dy = goal_pose.position.y - current_pose.position.y;
    double dist = std::hypot(dx, dy);

    // Check if reached (3cm threshold)
    if (dist < 0.03) return geometry_msgs::msg::Twist();

    // Calculate yaw error
    double target_yaw = std::atan2(dy, dx);
    double yaw_error = target_yaw - current_yaw;

    // Simple P-controller: rotate first, then move straight
    if (std::abs(yaw_error) > 0.1) {
        cmd_vel.angular.z = 1.0 * yaw_error;  // P-control
    } else {
        cmd_vel.linear.x = 0.1;  // Move forward
    }

    return cmd_vel;
}
4. Dynamic World Generation
The world (rooms, walls, waste objects) is generated dynamically at launch from a YAML config:
num_rooms: 40

generation_params:
  room_size: 1.0
  wall_thick: 0.05
  wall_height: 0.2
  col_spacing: 3.0
  row_spacing: 2.0
Each robot gets its own “zone” so they don’t collide with each other. I moved from having multiple robots in one large room to giving each robot its own small room—this avoided issues like multiple robots locking onto the same waste object or blocking each other’s paths. The tradeoff is more walls and rooms, but it simplified the behavior significantly.
5. Single Executable Architecture
Instead of spawning separate nodes for each robot, I combined them into a single executable per robot. This reduces overhead since each ROS 2 executable is launched with its own auxiliary processes.
After test 5, I realized that the robot controller node was taking around 150% of CPU. To limit CPU utilization of robot_controller process, splitting them into multiple processes, each process containing 10 robot controller nodes
6. Simple Hoop Mechanism (No Complex Gripper)
Instead of a complex grasping hand (which might fail unpredictably), I designed a simple hoop around the robot controlled by a linear actuator. When the LiDAR confirms the waste block is in range, the hoop lowers to capture it. This ensures 100% pick-up success when the block is within range—no grasp planning needed.
The Finite State Machine
Each robot runs a simple 6-state FSM:
FIND_OBJECT → APPROACH_OBJECT → GRASP_OBJECT → MOVE_HOME → MOVE_OUT → RELEASE_OBJECT
     ↑                                                                       |
     └───────────────────────────────────────────────────────────────────────┘
States:
- FIND_OBJECT: Rotate and scan for green pixels
- APPROACH_OBJECT: Move forward until LiDAR shows close distance
- GRASP_OBJECT: Lower the “hoop” mechanism to capture the waste
- MOVE_HOME: Navigate back to origin using custom planner
- MOVE_OUT: Move to the drop zone
- RELEASE_OBJECT: Raise the hoop to release waste
The FSM is clean and deterministic—no complex behavior trees needed.
MVC Architecture
I followed Model-View-Controller architecture to keep the code organized:
- Model (swarm_model): FSM logic and robot state. No ROS dependencies.
- View (swarm_view): Sensor subscriptions and command publishers. The ROS 2 interface.
- Controller (swarm_controller): Orchestrates everything. Reads sensors, updates FSM, sends commands.
This separation made testing easier—I could unit test the FSM without spinning up the full simulation.
Results: Testing the Limits
I ran a series of tests, progressively increasing the robot count to find the breaking point.
Test 1: Single Robot Baseline
Single robot in the simulation. Everything works perfectly—robot picks up the waste block, moves home, moves out, releases the waste block, and returns.
Test 2: 20 Robots - DDS Issues Discovered
With 20 robots, I started seeing TF lookup errors. The issue traced back to Fast RTPS DDS.
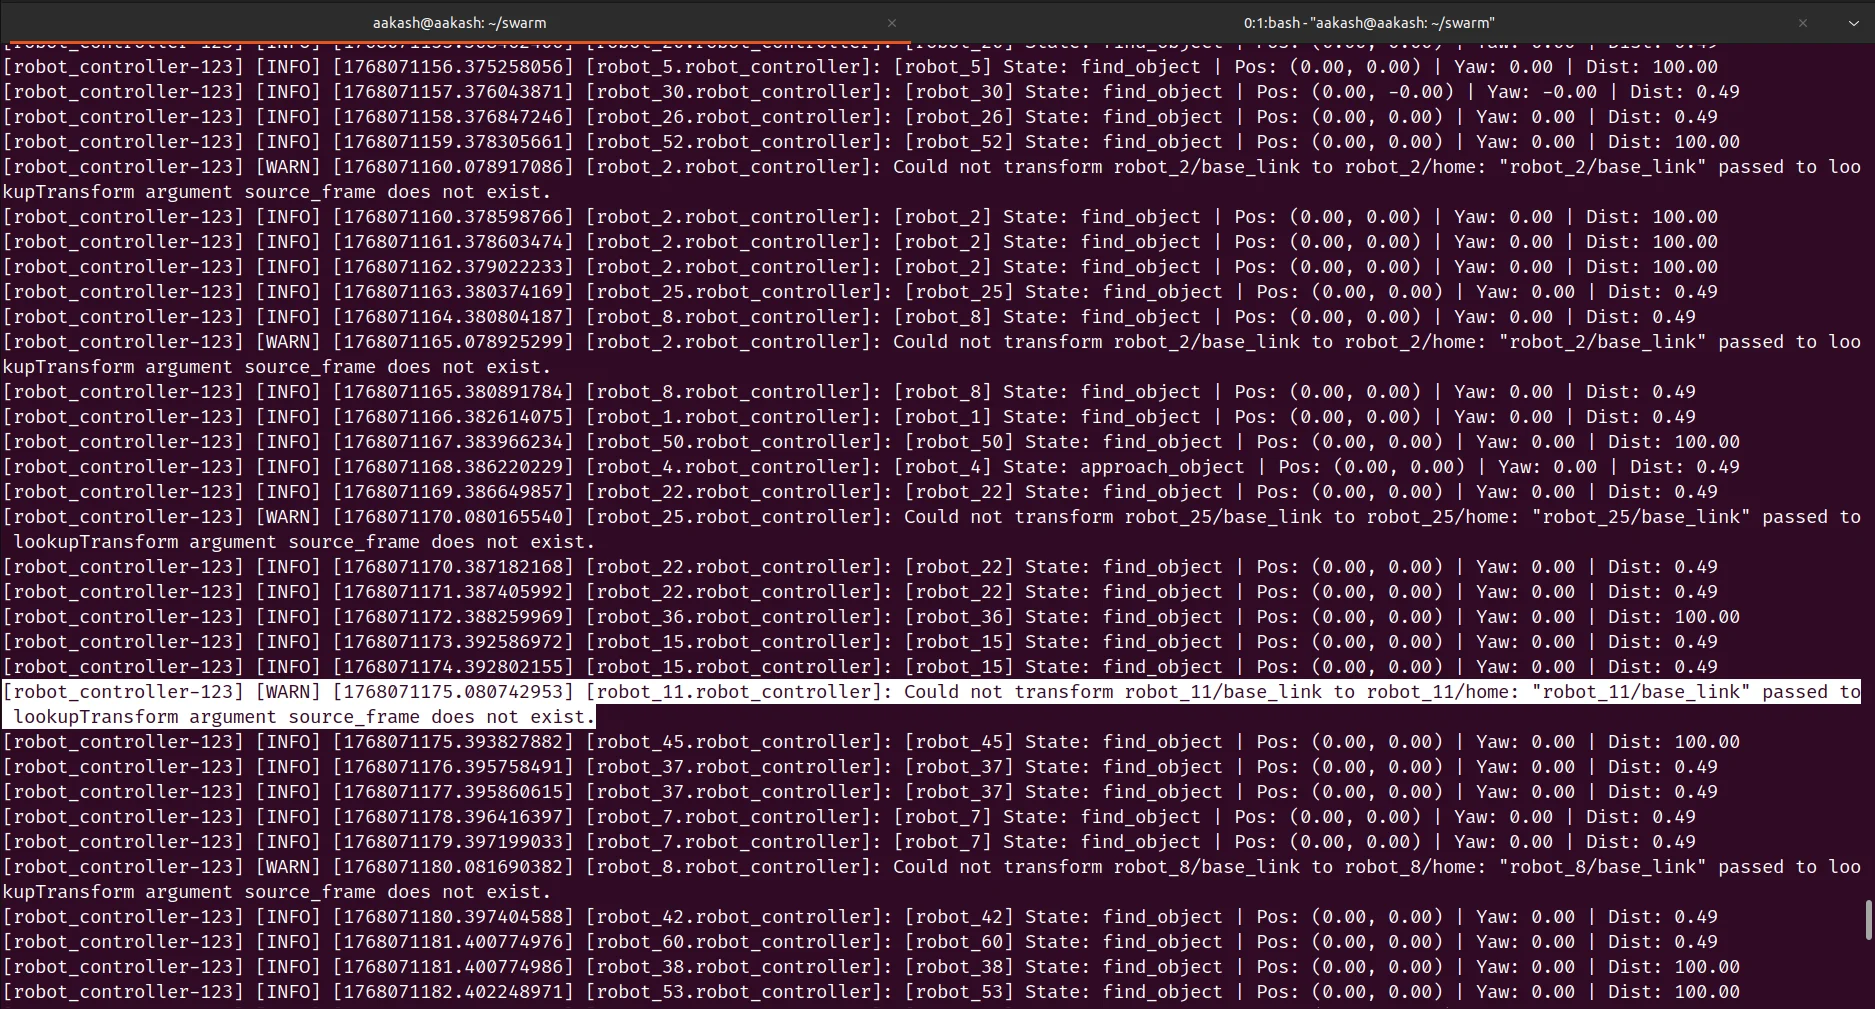
The solution was switching to Cyclone DDS (rmw_cyclonedds).
Test 3: 20 Robots with Cyclone DDS
After switching to Cyclone DDS, 20 robots work flawlessly.
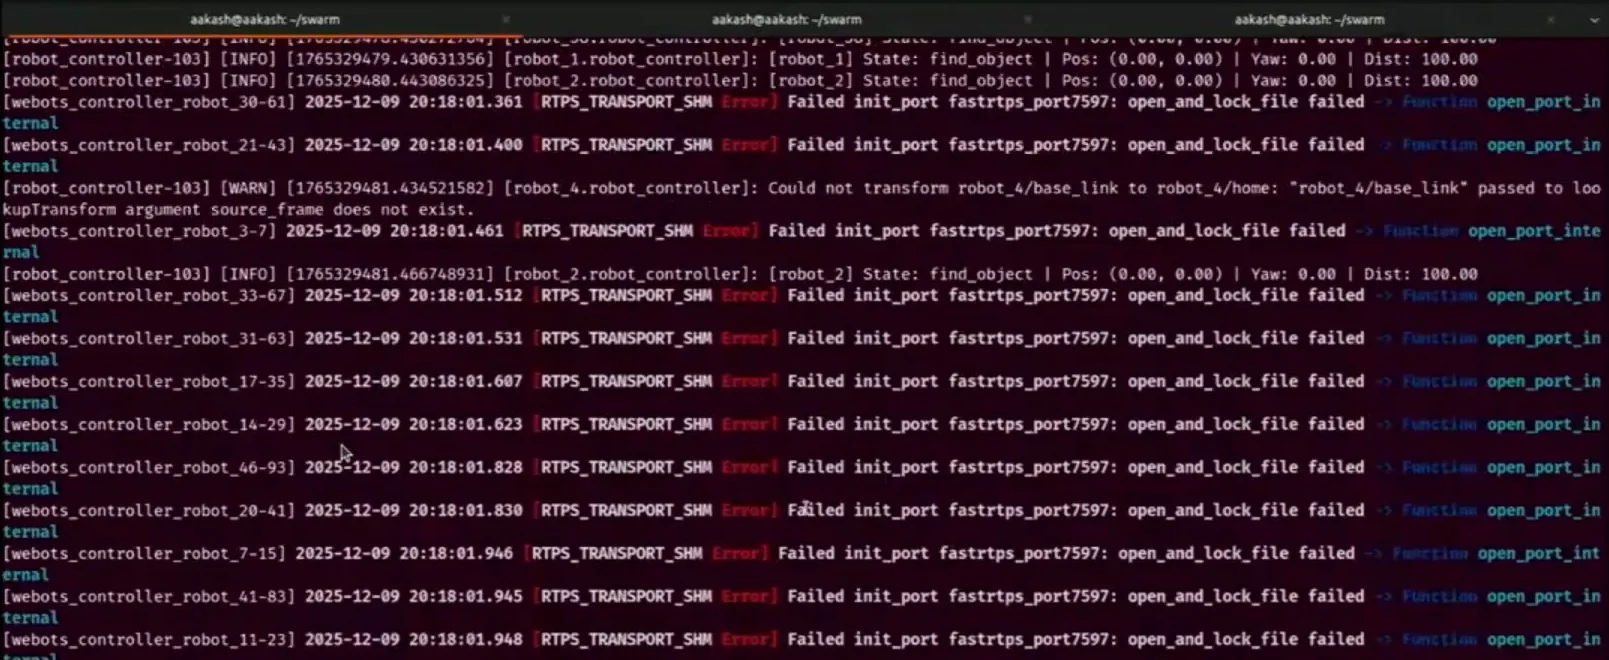
Test 4-5: 50 Robots - Timing Issues
At 50 robots, the hoop closes too soon—the robot cannot grasp the waste block consistently.
I tried enabling use_sim_time: true but still had failures. CPU was hitting 100% at the beginning, probably due to loading the simulation.
Test 6: GPU Acceleration + Process Splitting
I added GPU acceleration to take load off the CPU. The blocks are still missed sometimes.
Test 7: 50 Robots Working
I noticed that the CPU utilization of robot controller node is too high (150%), since single executable was running all the robots. So, I split the robot controllers into multiple executables (10 robots per process).
With the above optimizations, 50 robots work reliably!
Test 8: 80 Robots
50 robots work, can we run 80 robots? The simulation became laggy, and the real time factor dropped to 0.05-0.1, I needed some more optimizations.
---Test 9: 80 Robots Working
The camera was streaming at 60hz, I reduced it to 10hz. And now I was able to run 80 robots.
Test 10: 100 Robots - The Limit
100 robots takes about 10 minutes just to set up the simulator. During setup, CPU utilization is 100% on all cores and memory usage on my 32GB machine shot up to over 90%.
After 10 minutes, robots do move towards the blocks, though some miss their targets. At this point, memory becomes the limiting factor.
Key Findings
| Robots | Issue | Solution |
|---|---|---|
| 20 | TF lookup errors, Fast RTPS DDS failures | Switch to Cyclone DDS |
| 50 | Grasping failures, timing issues | Enable use_sim_time, GPU acceleration, split processes to reduce single-core load |
| 80 | Low real-time factor (0.05-0.09) | Reduce camera rate from 60Hz to 10Hz |
| 100 | Memory constraints (90%+ usage) | Limit reached |
What didn’t break: CPU, GPU, and memory were all below 60% utilization until 100 robots—yet the real-time factor was still only 0.05-0.1. This suggests the bottleneck was synchronization/mutex locks within Webots itself.
What I Learned
On System Design
- Skip the frameworks unless you need them — OpenCV, Nav2, and MoveIt are great for complex projects, but overkill for simple tasks
- Parameterize everything — Being able to change robot count from a YAML file made experiments fast
On Testing
- Unit testing is worth it — I tested the model and controller with Google Test. When bugs appeared, the tests helped isolate them quickly
- Integration tests are harder — Testing the full system (Webots + ROS 2 + all robots) required more setup
- CI/CD catches regressions — Every push to GitHub triggers a Docker container that builds and tests everything
On TDD
- TDD is hard when you don’t know what to build — When the architecture was unclear, I often fell back to writing tests after the code. Once I had a clearer picture, writing tests first became more natural.
Running the Code
mkdir -p ~/swarm_ws/src
cd ~/swarm_ws/src
git clone https://github.com/AakashDammala/swarm.git .
cd ..
colcon build
source install/setup.bash

# For CPU only
ros2 launch swarm_view swarm_launch.py

# For GPU acceleration
__NV_PRIME_RENDER_OFFLOAD=1 __GLX_VENDOR_LIBRARY_NAME=nvidia ros2 launch swarm_view swarm_view.launch.py
The number of robots is controlled by num_rooms in swarm_config.yaml.
Check out the GitHub repo for full code, UML diagrams, and documentation!